Introduction
In a previous article, I have shown a way of making a parametric boomerang in Blender using the Sverchok plugin. That required installing and learning the Sverchok plugin, though. Recently, the built-in Geometry Nodes in Blender have been extended to include the Extrusion node, which enables us to create a parametric boomerang shape with vanilla Blender.
Drawing the Outlines
The idea is to draw two outlines, one for the boomerang as a whole and one to represent the top surface of the boomerang. We draw these two as Bezier curves. The relationship between the two curves defines the shape of the airfoils, as can be seen here:
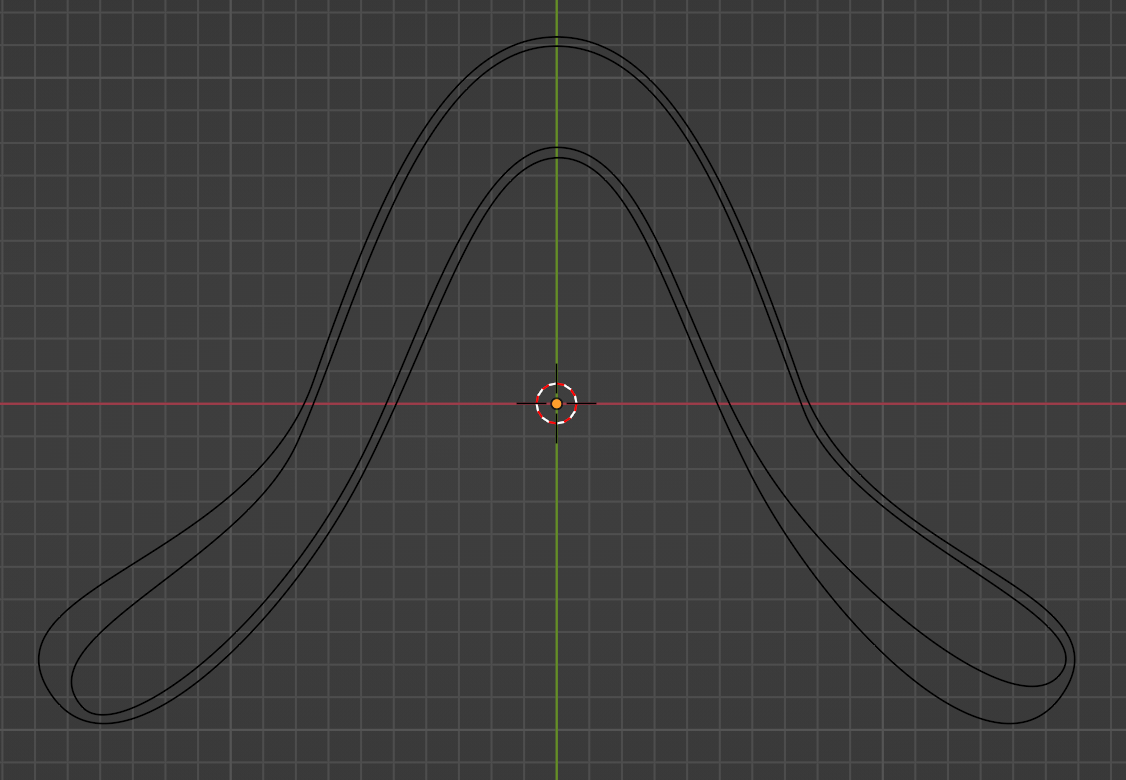
I called the curves "inner" and "outer", respectively.
Structure of the Node Graph
The Blender file for this boomerang is available here.
We will create the boomerang from those two outlines in four parts:
- the bottom face
- an extrusion of the bottom face upwards, which makes up the blunt part of the airfoil
- the top face
- the beveled edges of the airfoil, which are created by connecting the bottom extrusion and the top face
The node graph accordingly consists of four sections which make up these four parts.
Parameter Input
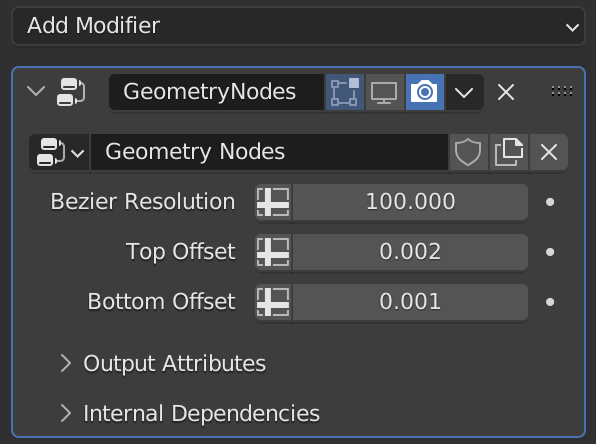
We want to have a central point where we can manipulate parameters such as the thickness of the boomerang. That can be done by adding values to the input node of the node graph. Those values will show up as parameters in the Geometry Nodes modifier:
Geometry Input
The node graph is added as a modifier to the outer curve. We input the inner curve as an additional Object Info node.
Creating the Bottom Extrusion and Bottom Face
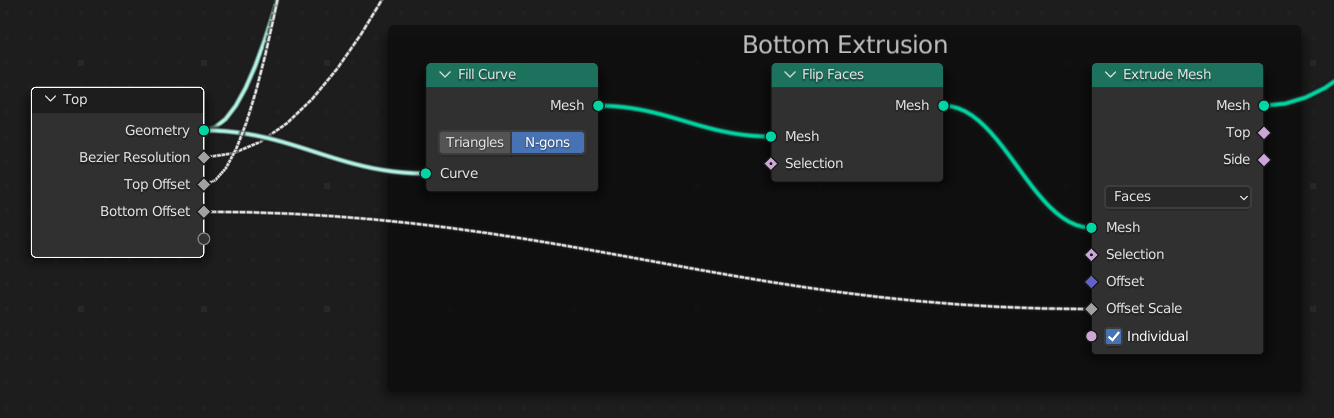
The bottom extrusion – the blunt part of the airfoil – by filling the outer curve with an n-gon and then extruding it upwards. I had to flip the n-gon before extruding, or else I would end up with inside-out normals.
Creating the Airfoil
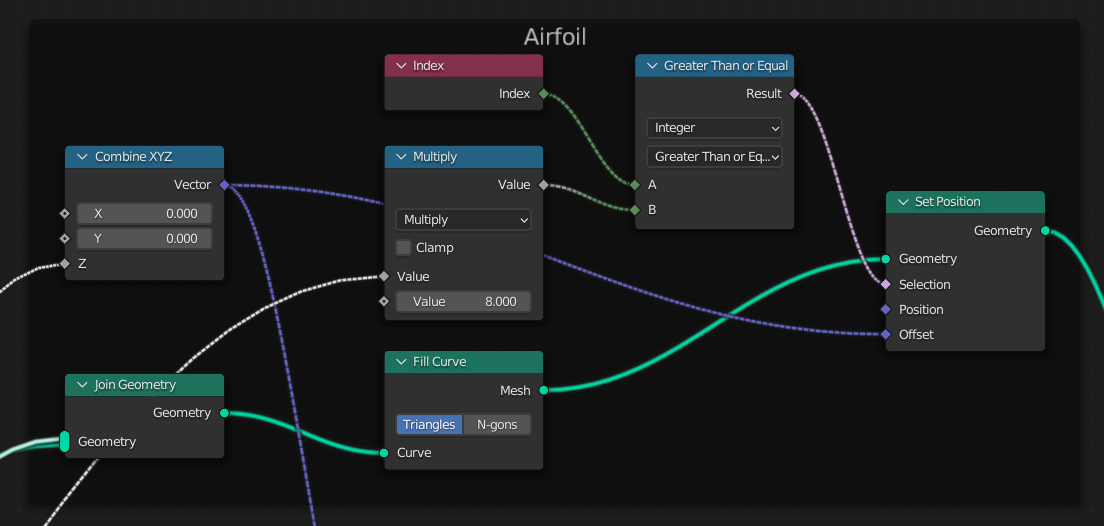
This part is a bit more involved. There is a Fill Curve node that can fill in a surface between our outer and inner curves, but that will only work if both are in the same plane. Hence, we fill the surface between the curves with triangles and then move the vertices that belonged to the inner curve upwards in the Z direction. The Z distance is taken from the input parameters.
Creating the Top Face
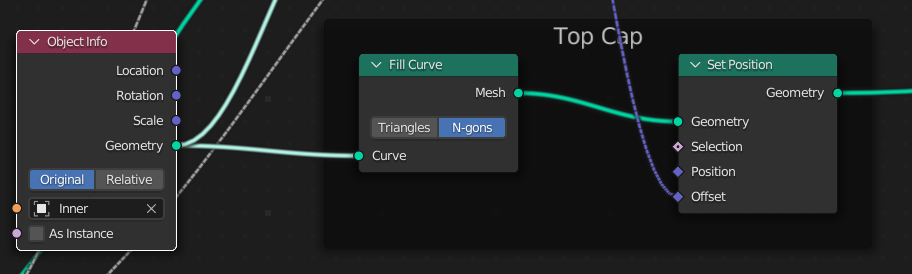
Creating the top is easy. We just use a Fill Curve node and then translate the resulting curve upwards by the desired amount.
Joining the Faces and End Result
All that remains to do is to join up the three faces with a Join Geometry node.
The end result look like this. I used different colors here to highlight the three parts from the previous sections:
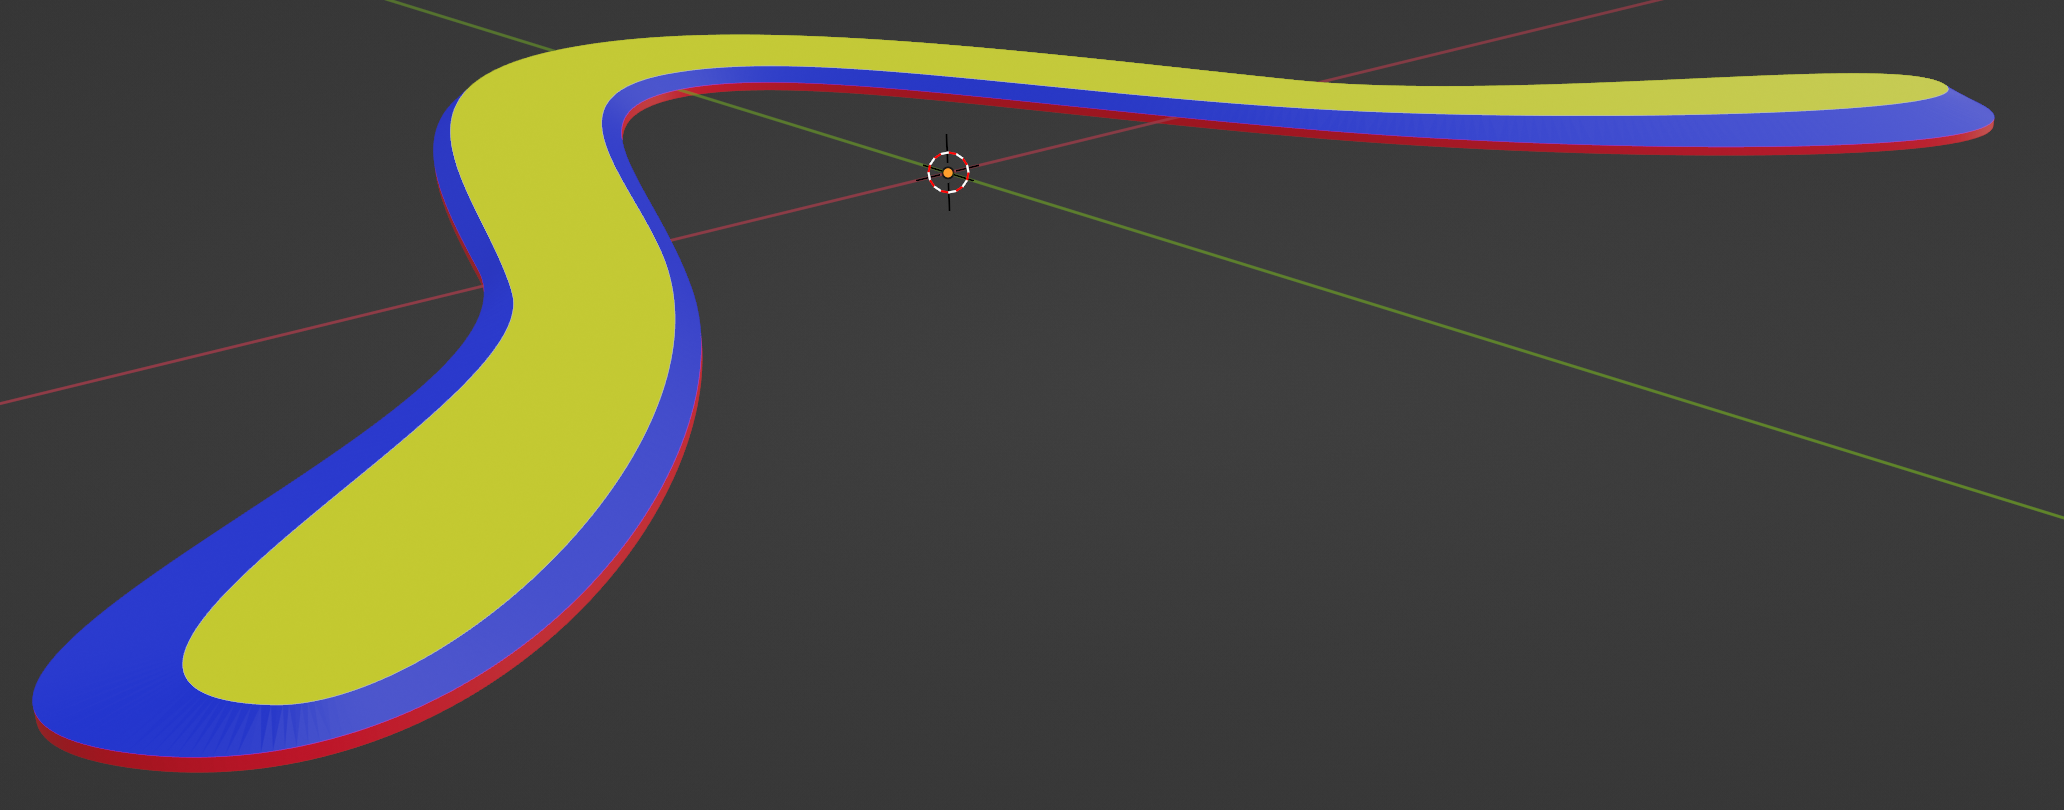
The colors correspond to the three sections above:
- The bottom extrusion is shown in red.
- The airfoil part is shown in blue.
- The top face is shown in yellow.
Future Work
In the Sverchok boomerang, I was able to add a roundover to the airfoil. I haven't figured out how to do that here, though, since the airfoil consists of triangles (and not quads), and those will not play nice with a bevel in Blender.
Unfortunately, the Fill Curve node can only produce triangles or n-gons. With a lot more fiddling, one might be able to turn adjacent triangles into quads, which would allow us to use a bevel to create a nicer airfoil.