Here are some quick tips which may speed up boomerang modeling in Blender. They would be obvious to people more fluent in Blender, but I only discovered them recently.
There is a companion video demonstrating the techniques described below:
Using Bezier Curves to Define the Outline
In my previous articles on modeling boomerangs in Blender, I relied on so-called subdivision surface modeling. It might be easier, though, to first define a boomerang shape using Bezier curves. This will allow us to make a nice, organic boomerang shape by dragging around control points of a smooth curve.
First, add a Bezier circle to an empty Blender project, which will become the outline of the boomerang.
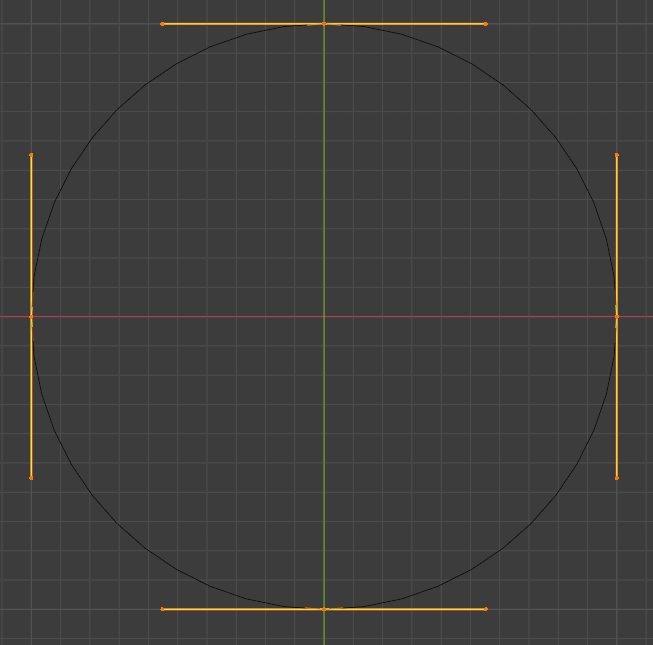
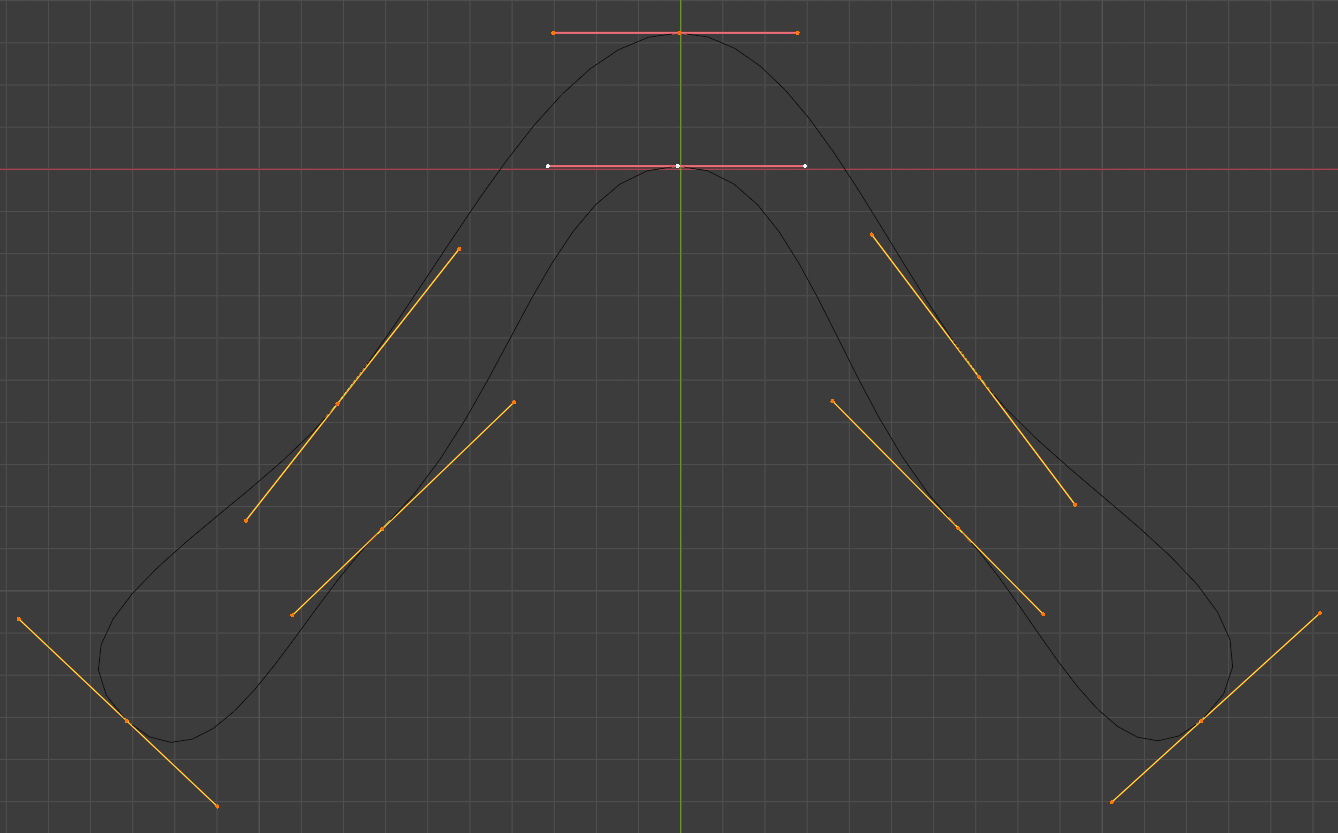
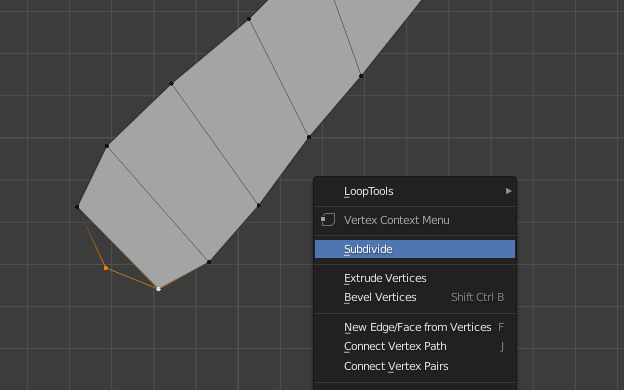
For many boomerang shapes, it will be sufficient to subdivide (in the right-click context menu) this curve once so we get eight control points in total. Drag these around to create your boomerang shape, or subdivide further if needed.
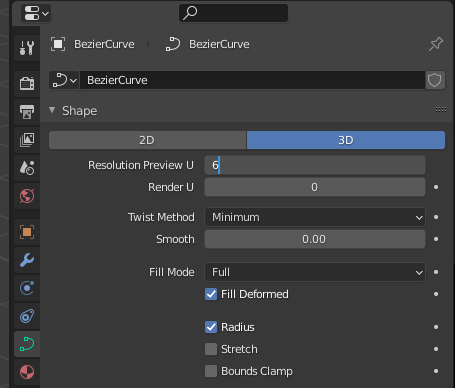
Since 3d modeling with Bezier curves does not seem to be supported very well in Blender, we will now convert our Bezier curve to a polygonal mesh. First we will reduce the resolution, though, to about 6.
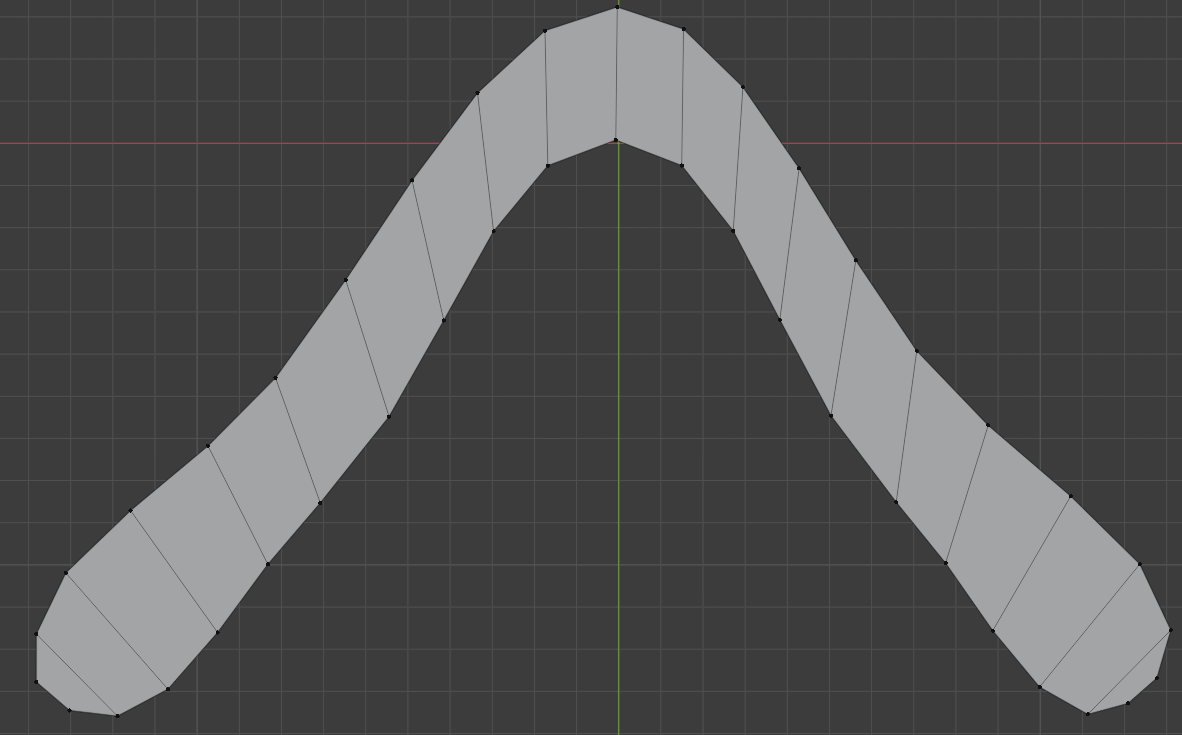
This mesh can now be filled (F) with polygons. Start by marking two opposing vertices and keep pressing F until most of the outline is filled with quads, i.e., four-vertex polygons.
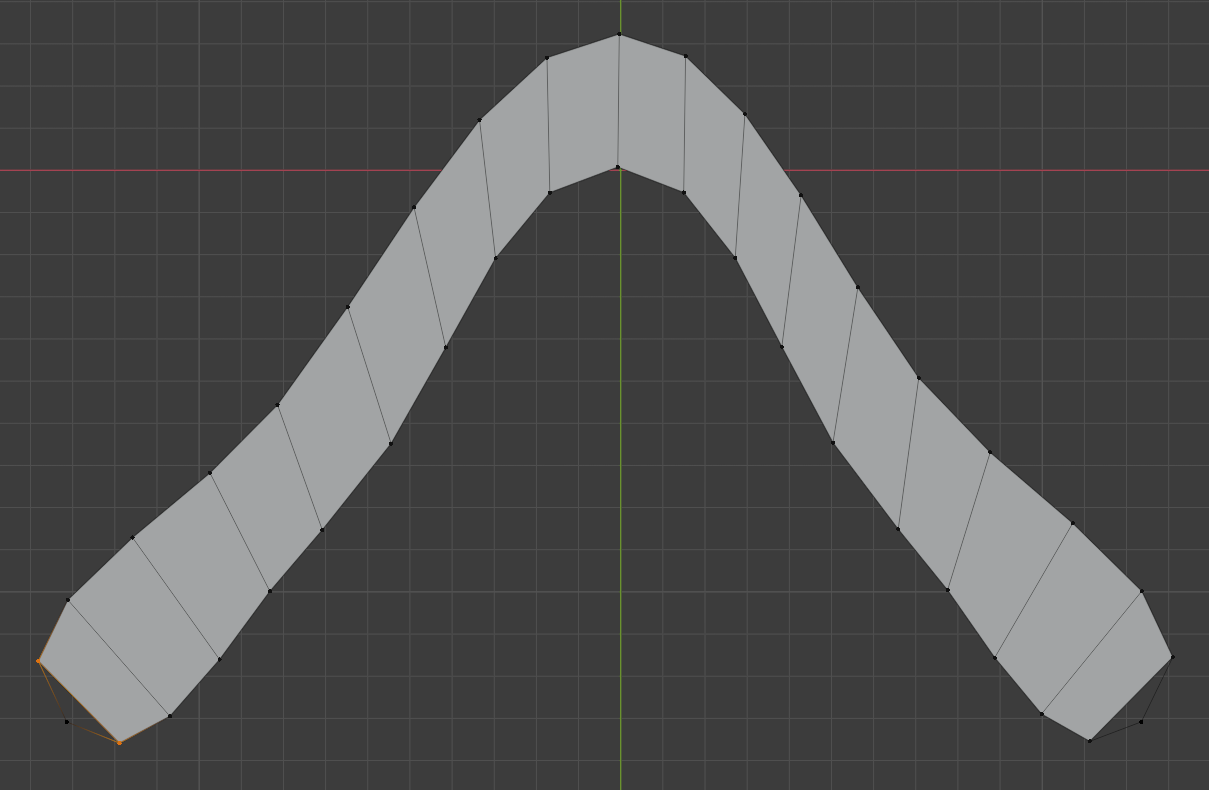
Near the wingtips, you might end up with three vertices. To make those into a quad, subdivide one of the edges so another quad is created.
Fill those new quads as well, and our resulting shape should consists of quads only.
Using the Inset Command to Create Good Topology Near the Wingtips
When creating a boomerang in Blender (or any mesh-based 3d modeling software), one challenge is to model the wingtips.
One approach is to start with a subdivided cube-like shape like this one.
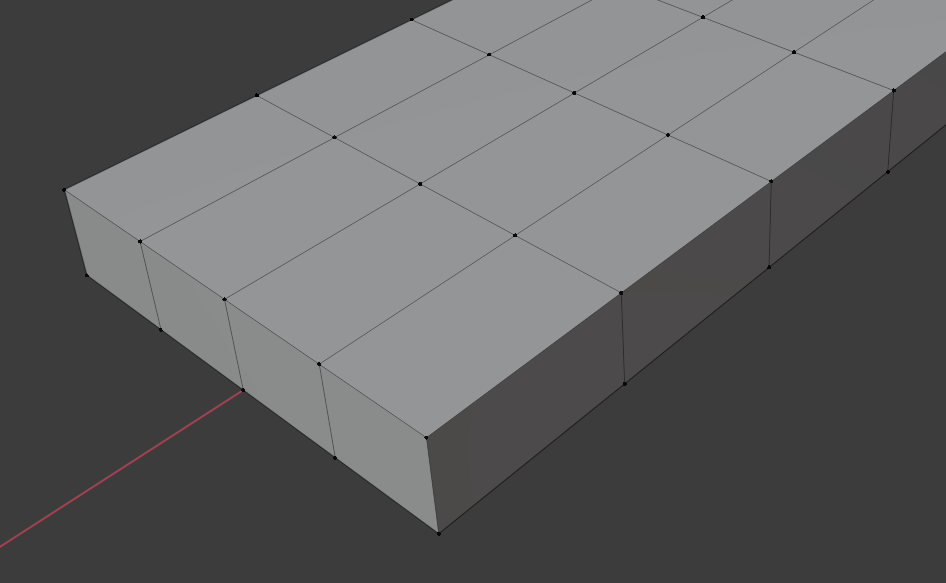
What we want to achieve is an all-quad topology that flows around the tip like this.

This shape can then be turned into a wingtip by lowering the outer vertices, and subdividing the resulting topology.

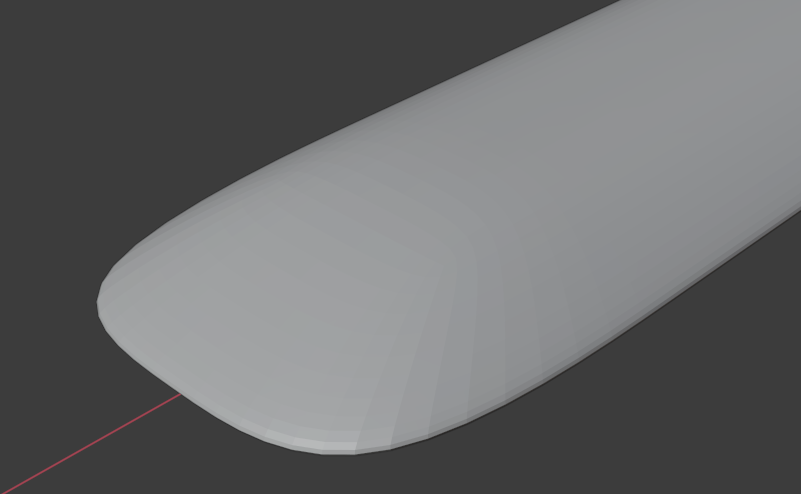
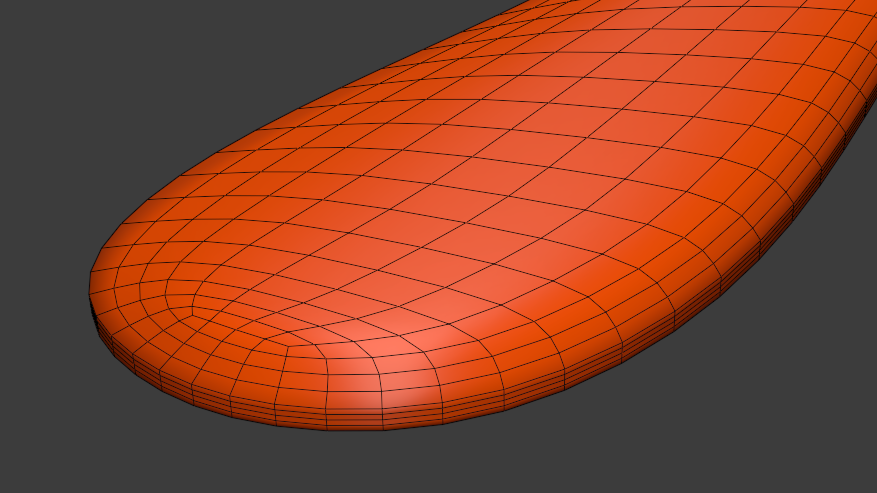
A nice, flowing topology like this one can be achieved that way.
A simpler way to achive such a topology is by starting out with a simple quad-based topology of our whole boomerang shape like the one we made above:
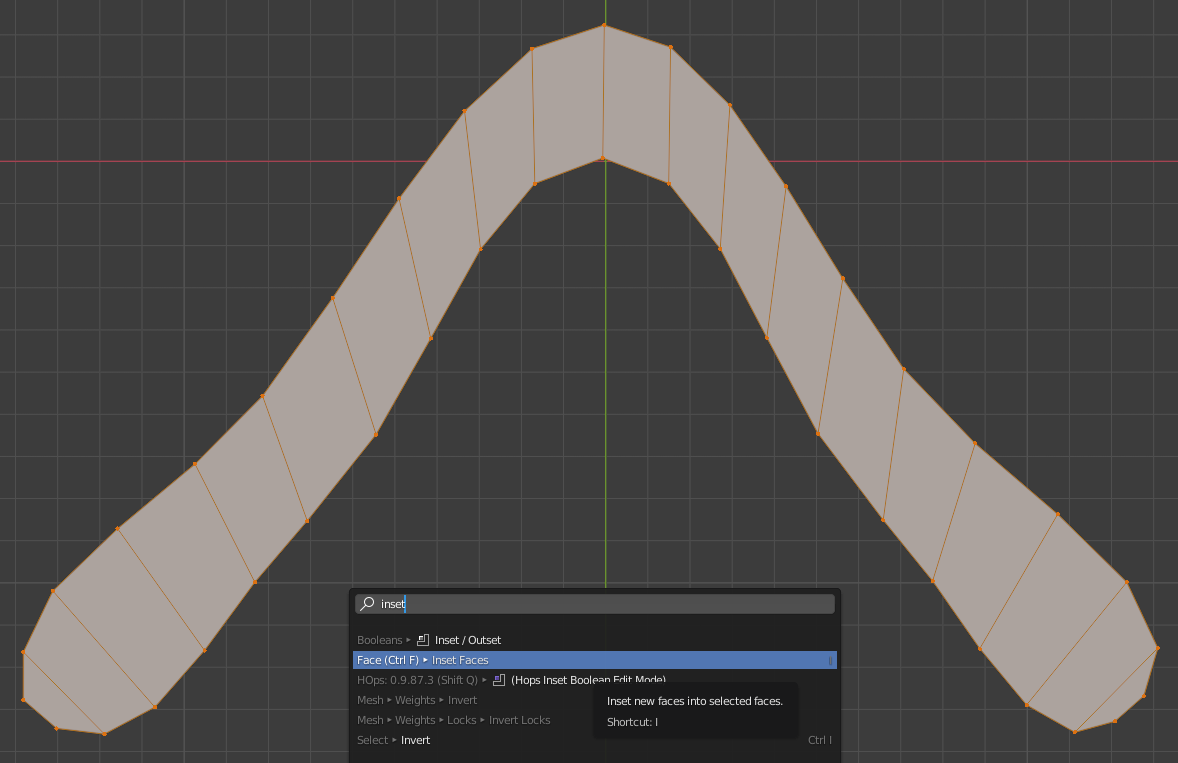
The idea is to use the Inset Faces command (I), which will turn our outline into the exact topology we need to create the airfoils. Just mark everything, press "I" and move the new vertices a little bit to the inside to create a leading-edge part of the airfoil.

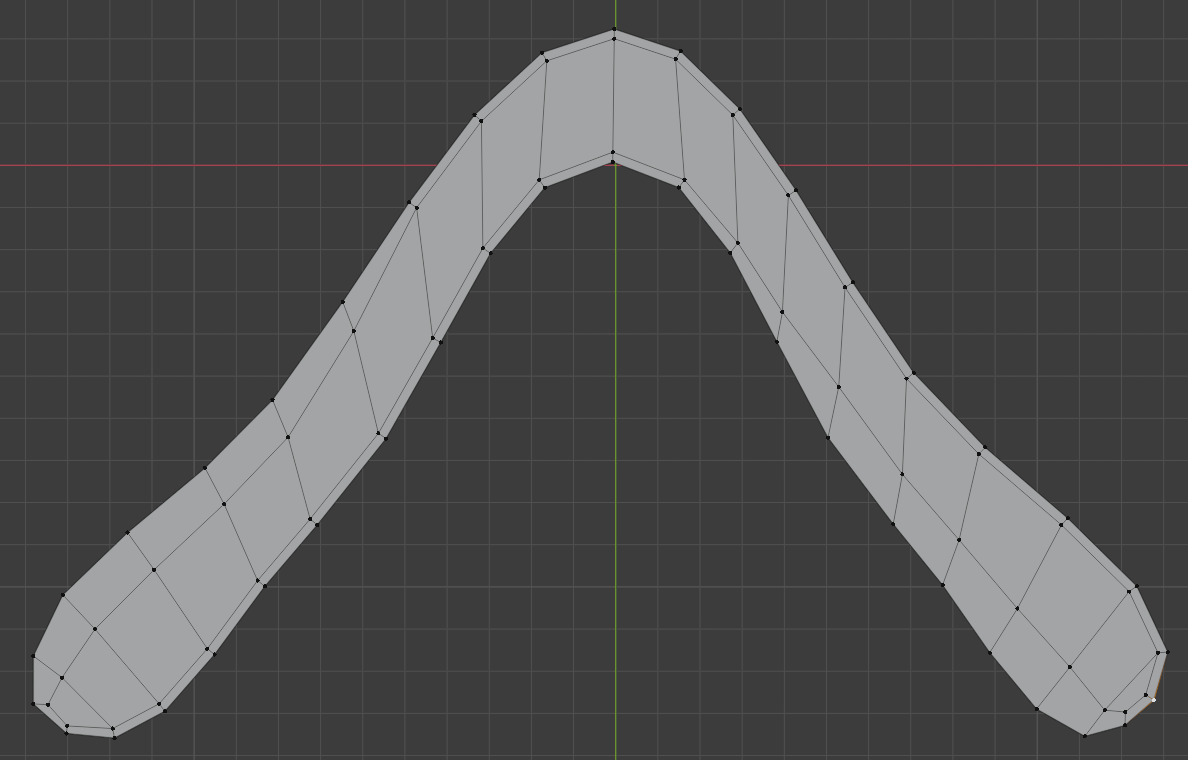
Move some of the vertices to create the trailing edges. The quickest way to do so is to mark a number of consecutive vertices (Shift-Ctrl-Click), and move these along the edges (GG) to the inside of the wing.
From here, modeling continues as demonstrated in my previous tutorials.